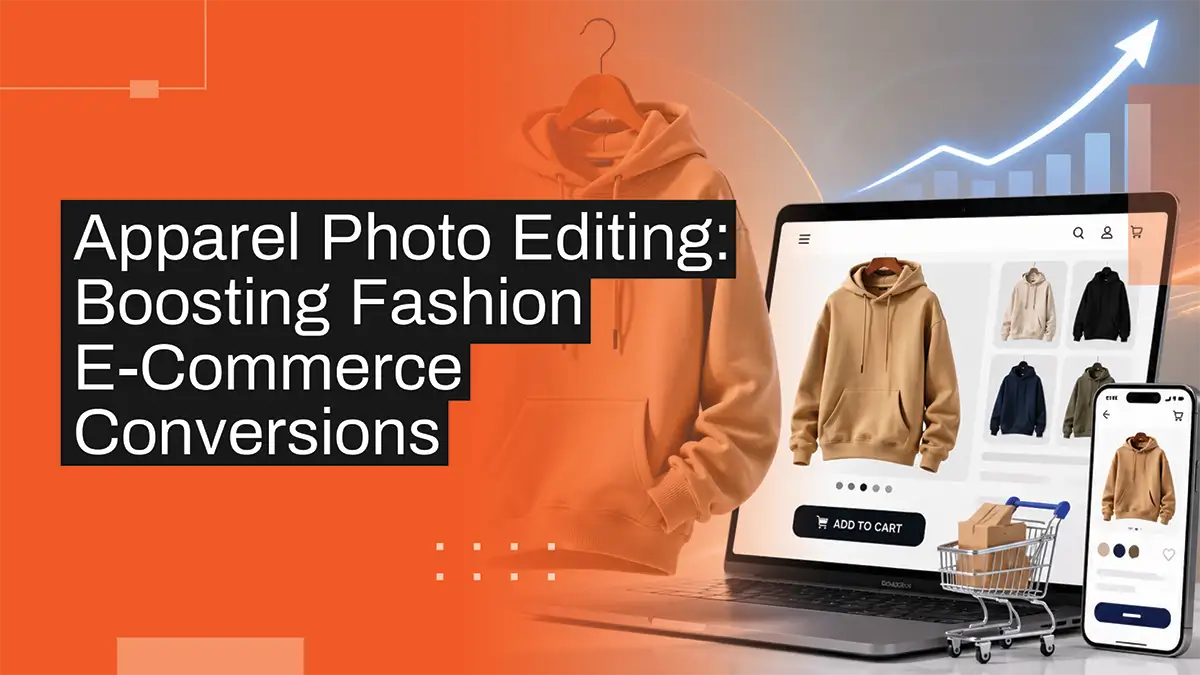
Apparel Photo Editing: Boosting Fashion E-Commerce Conversions
We’ve all been there. You’re scrolling through an online store, you spot a jacket that looks incredible, and you hover over the “Add to Cart” button. But then you pause. You zoom in, and suddenly, the fabric looks a bit dingy.
The shoulders sit awkwardly on a plastic mannequin, and the lighting makes a navy blue coat look suspiciously purple. You hesitate, close the tab, and just like that, the brand loses a sale.
In fashion e-commerce, your photos do the heavy lifting that a physical store’s sales associate, fitting room, and lighting display do all at once. If your images don’t inspire immediate trust, shoppers will go elsewhere.
That is where high-quality apparel photo editing comes into play. It bridges the gap between what a product looks like under a warehouse camera flash and how it feels to own it.
TL;DR:
- The Bottom Line: Professional photo editing bridges the sensory gap in online shopping, directly influencing a buyer’s trust and decision to purchase.
- Key Techniques: Invisible mannequin styling removes distractions, while precise color correction prevents costly product returns caused by inaccurate shades.
- The ROI: Investing in high-quality image post-production is proven to lift fashion conversion rates by up to 30% while dropping return rates significantly.
Why Apparel Photo Editing Drives E-Commerce Sales
When people shop for clothes online, they are buying an emotion and an expectation. They want to know exactly how a piece of clothing will feel, fit, and look in real life.
Because they can’t touch the fabric or try it on, your product images act as the sole proxy for quality. If those images look amateurish, the consumer subconsciously assumes the clothing is amateurish too.
The Conversion Power of Professional Images
Clean, crisp product photos do something incredibly powerful: they eliminate buyer friction. When an image is sharp, perfectly lit, and true to life, it answers the customer’s silent questions.
Is this high quality? Will it look good on me? Am I getting what I pay for?
When your photos look pristine, you aren’t just showing off a garment; you are building an elite shopping experience. This directly translates to lower cart abandonment, higher average order values, and a massive boost in overall store performance.
The impact of premium imagery isn’t just a theory; the data backs it up. Industry benchmarks consistently show that
✅Upgrading from basic, unedited smartphone shots to professionally retouched images can yield a 30% lift in e-commerce conversion rates.
Furthermore, major marketplaces and fashion retailers report that
✅ Clear, multi-angle edited photos drop return rates by up to 23%.
Why?
Because customers actually get what they saw on their screens, which eliminates the “expectation vs. reality” disappointment that kills repeat business.
Essential Editing Techniques for Fashion Products
Achieving that high-end, editorial look takes more than just slapping a preset filter onto a photo. It requires a suite of specialized digital techniques designed to make clothing look structurally flawless and visually striking.
Symmetry and Ghost Mannequin Magic
Flat-lay photography can sometimes look lifeless, and hiring live models for every single SKU gets incredibly expensive very quickly. This is where the “ghost mannequin” or invisible mannequin technique comes in.
| Step 1: Shoot on Mannequin + Step 2: Shoot Inseam/Inside → Edited: Flawless 3D Product Image |
Editors take two separate shots: one of the garment on a physical mannequin and another of the inside tags and lining, and seamlessly composite them together.
The result is a stunning, three-dimensional image where the clothing looks like an invisible person is wearing it. This gives the garment realistic shape, volume, and drape without any distracting plastic shoulders or metal stands pulling focus away from the style.
Lighting, Color Correction, and Background Removal
Even the best studio setups can struggle with color accuracy. Camera sensors interpret light differently than the human eye, often turning vibrant reds into muted oranges or making whites look yellowed.
- Color Accuracy: Editors meticulously adjust white balance, exposure, and saturation to ensure the digital image perfectly matches the physical fabric. This prevents the number one reason for fashion returns: “The color didn’t match the photo.”
- Background Removal: Placing your products on a clean, consistent, pure white or soft gray background removes clutter and makes your store layout look cohesive and professional.
- Crease and Blemish Removal: Ironing every piece of clothing perfectly during a chaotic shoot is nearly impossible. Post-production allows you to digitally iron out wrinkles, remove stray threads, and erase dust specks, leaving the garment looking pristine.
Best Tools and Services for Apparel Editing
If you are running a scaling fashion brand, you quickly realize that editing hundreds of product photos by hand is a massive bottleneck. Finding the right balance between software and professional help is essential for keeping your store updated without losing your mind.
For internal design teams, the gold standard remains Adobe Photoshop and Lightroom. Their advanced masking tools, neural filters, and healing brushes offer unmatched control over textures and shadows.
For quick, AI-assisted background removals, platforms like Photoroom or Pixelcut can handle basic tasks effectively.
However, when you are launching seasonal collections with hundreds of items, outsourcing to specialized apparel photo editing services is the smartest move.
It frees up your time to focus on marketing and growth and gives you access to dedicated teams. They handle high-volume ghost mannequin compositing, color matching, and clipping paths with overnight turnaround times.
Step-by-Step Guide to Optimize Photos
To get the absolute most out of your post-production workflow, it helps to follow a structured system. Here is a simple, highly effective roadmap to take your raw studio shots and turn them into conversion-driving assets.
1. The Prep Work
Before you even open an editing program, sort through your session files. Group your images by product SKU and separate them into angles (front, back, side, detail shots). Throw out any blurry or badly exposed frames right away to save time.
2. Clipping Paths and Background Separation
Isolate the clothing from its original studio background using precise pen tools or advanced masking. Place the item on your standard e-commerce background; usually a crisp white (#FFFFFF) or a subtle, modern off-white.
3. Apply the Ghost Mannequin Effect
If you used a mannequin, mask it out. Merge the image of the garment’s interior with the exterior shot. Make sure the collar line, cuffs, and hemlines align perfectly so the depth looks natural and believable.
4. Correct Colors and Enhance Details
Compare the digital file to a physical sample of the clothing under neutral light. Adjust the color channels until they match perfectly. Boost the contrast slightly to make textures like knits, denim, or leather pop off the screen.
5. Crop and Compress for the Web
Crop your images consistently across your entire catalog; using a 1:1 square or a 4:5 vertical portrait ratio works best for mobile shoppers. Finally, compress the files to web-friendly formats like WebP to keep your page load speeds lightning-fast without sacrificing clarity.
Frequently Asked Questions about Conversion Boost Apparel Photo Editing
1. How does clothing photo editing boost e-commerce conversions?
It builds immediate trust. When photos look clean, crisp, and professionally shot, customers perceive your brand as reputable and high-quality. Clear images answer their unvoiced questions about fit, texture, and color, giving them the confidence to click “buy.”
2. What are the best editing techniques for fashion product photos?
The most impactful techniques include the ghost mannequin effect (which creates a realistic 3D shape), precise color correction (to ensure real-life accuracy), and wrinkle removal. Together, these techniques make garments look premium and well-fitting.
3. Should fashion brands outsource apparel image editing?
Yes, especially if you are scaling. While doing it yourself works for a handful of items, editing hundreds of images requires specialized skills and hours of tedious work. Outsourcing keeps your internal team focused on growth while ensuring a rapid, consistent turnaround.
4. What tools are best for apparel image editing in 2026?
Adobe Photoshop remains the industry leader for intricate retouching and compositing. For high-volume management, Lightroom is excellent. Brands also rely on specialized bulk-editing services and automated AI workflows for initial background cutouts.
5. How many edited images per product maximize fashion sales?
The sweet spot is generally between 4 and 6 images per product. You should include a clean front shot, a back shot, a side profile, a close-up of the fabric texture or unique details (like zippers or embroidery), and a lifestyle or model shot to show scale.
Final Words
Behind every successful fashion label is a community of people who love what you create. When you invest in professional apparel photo editing, you aren’t just cleaning up pixels; you are honoring that relationship.
You’re giving your customers the clarity and honesty they deserve to shop with absolute confidence. Beautifully edited images remove the guesswork, letting the genuine quality of your craft shine through.
Ultimately, taking care of your photos is just another way of taking care of your audience, and that is the truest, most sustainable way to build a brand that lasts.